Create IAM User and Assign Permissions
Overview
In this step, you will create an IAM User with access to AWS services via the Command Line Interface (CLI) or SDK. This user will be assigned the two previously created policies to interact with the backend and frontend of the Serverless Invoices Scanner system.
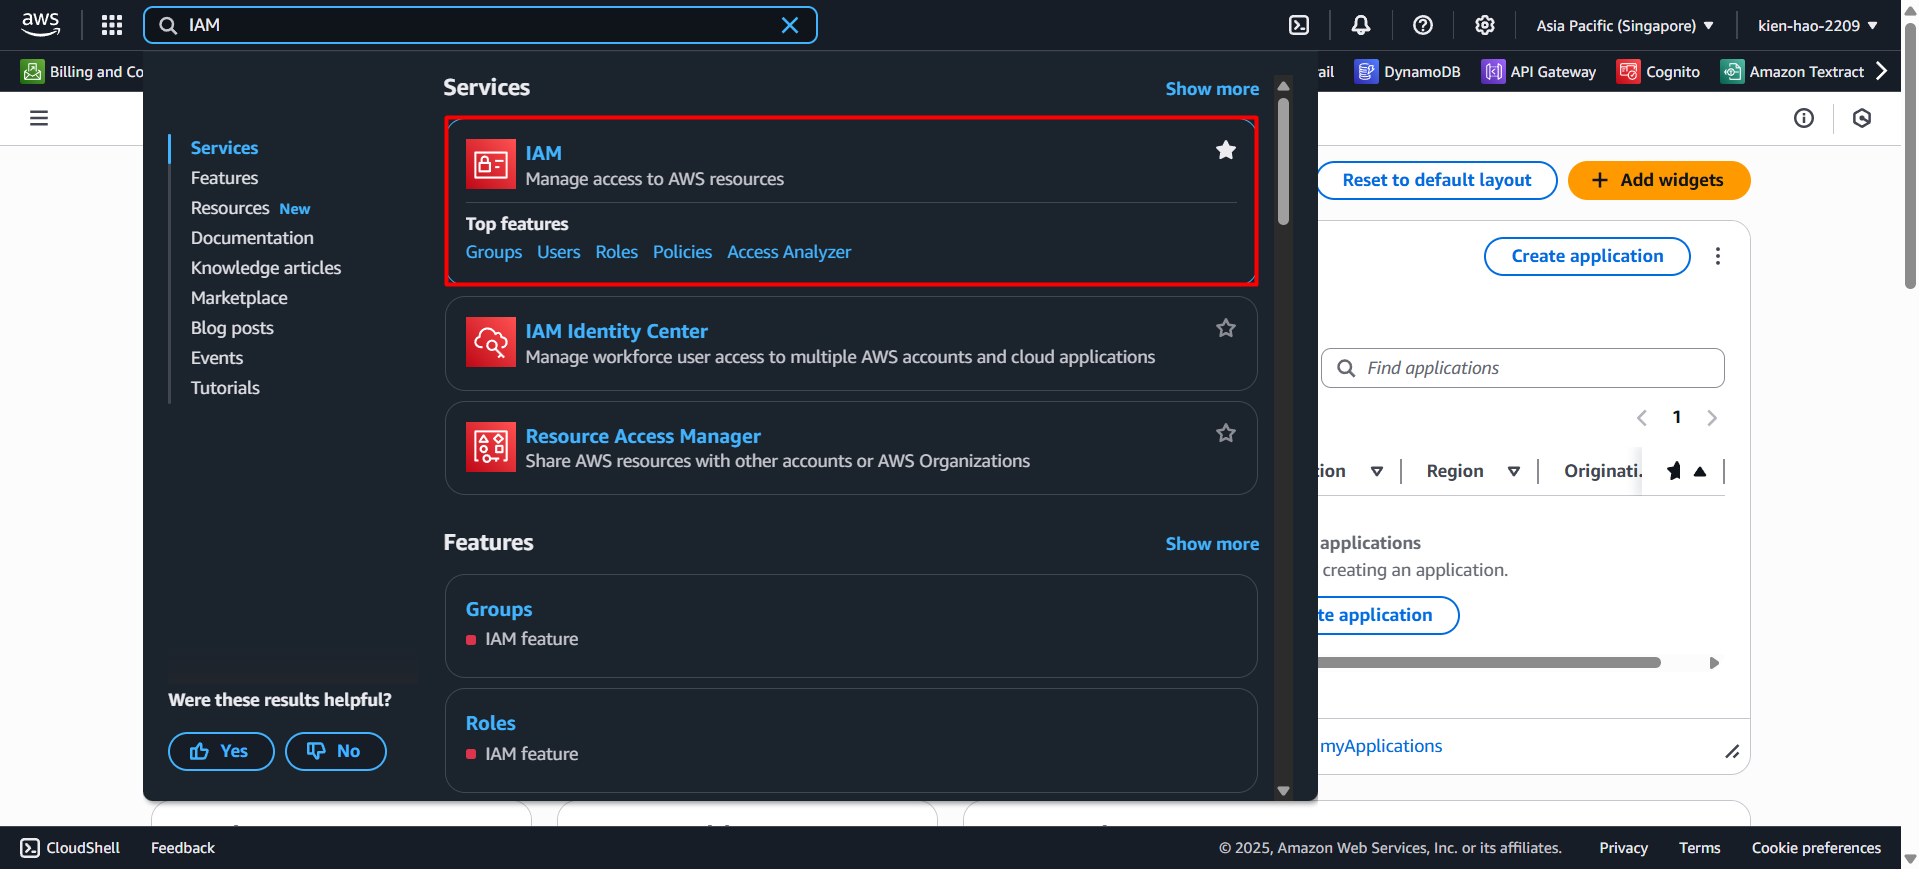
Step 1: Access the IAM Console
- Go to AWS Console, search for IAM, then click on IAM in the results.
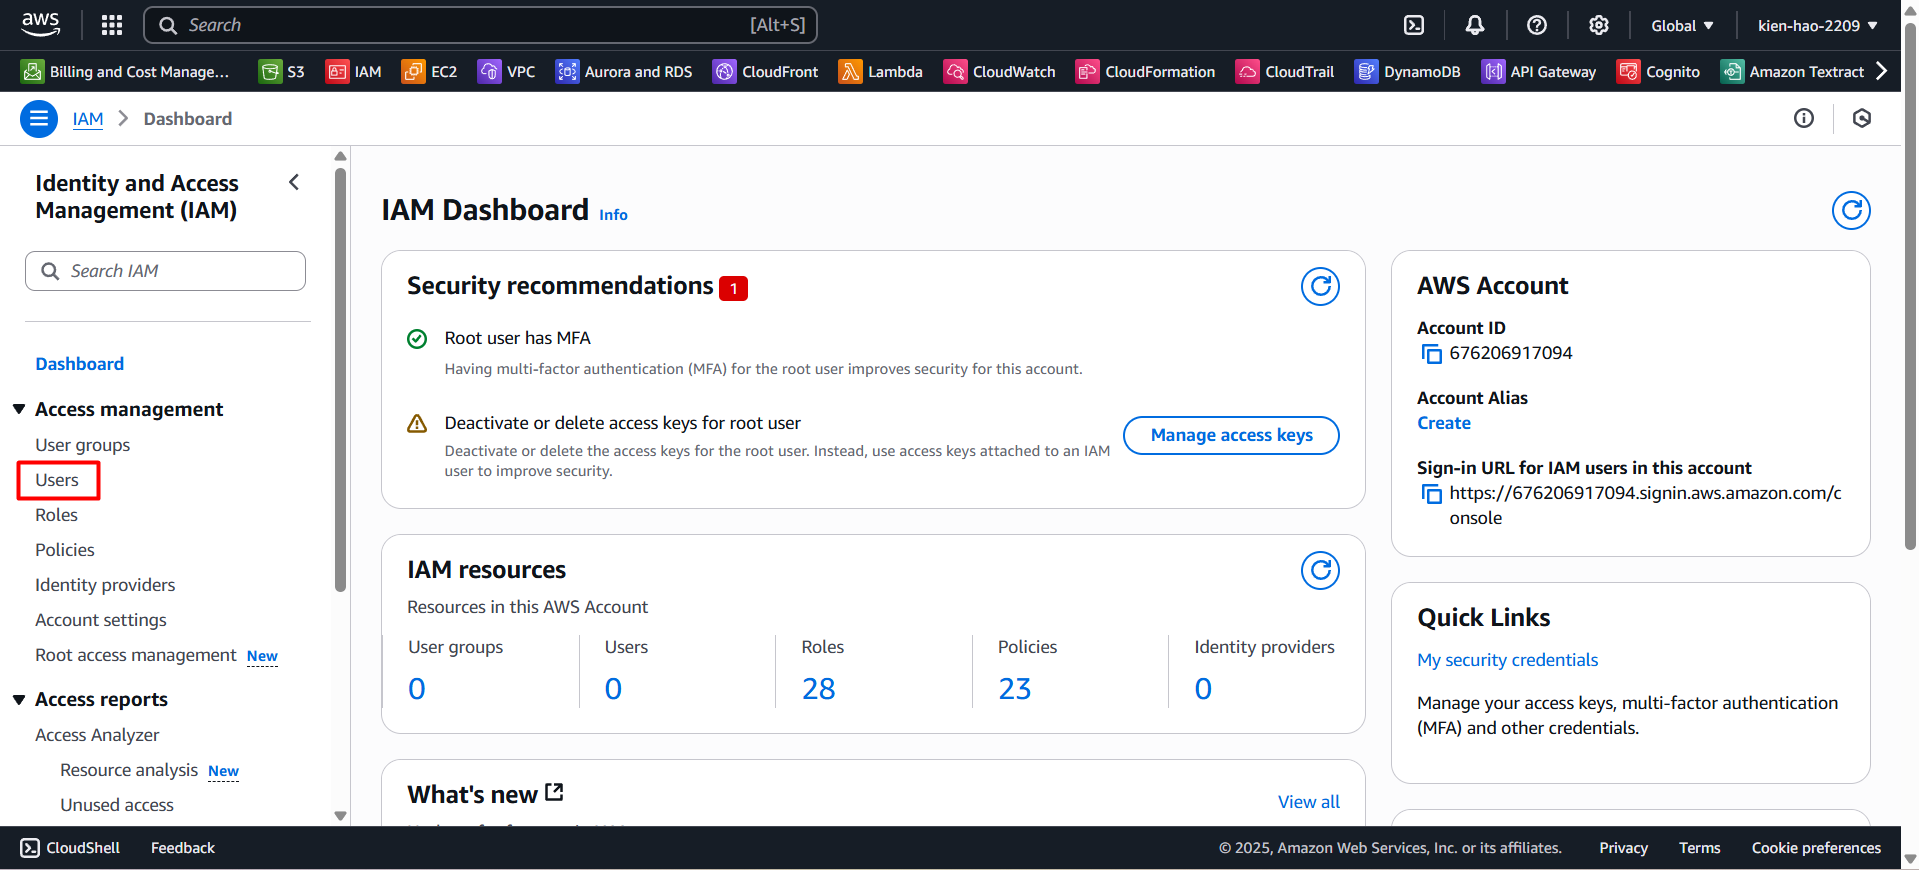
- In the left-hand menu, select Users.
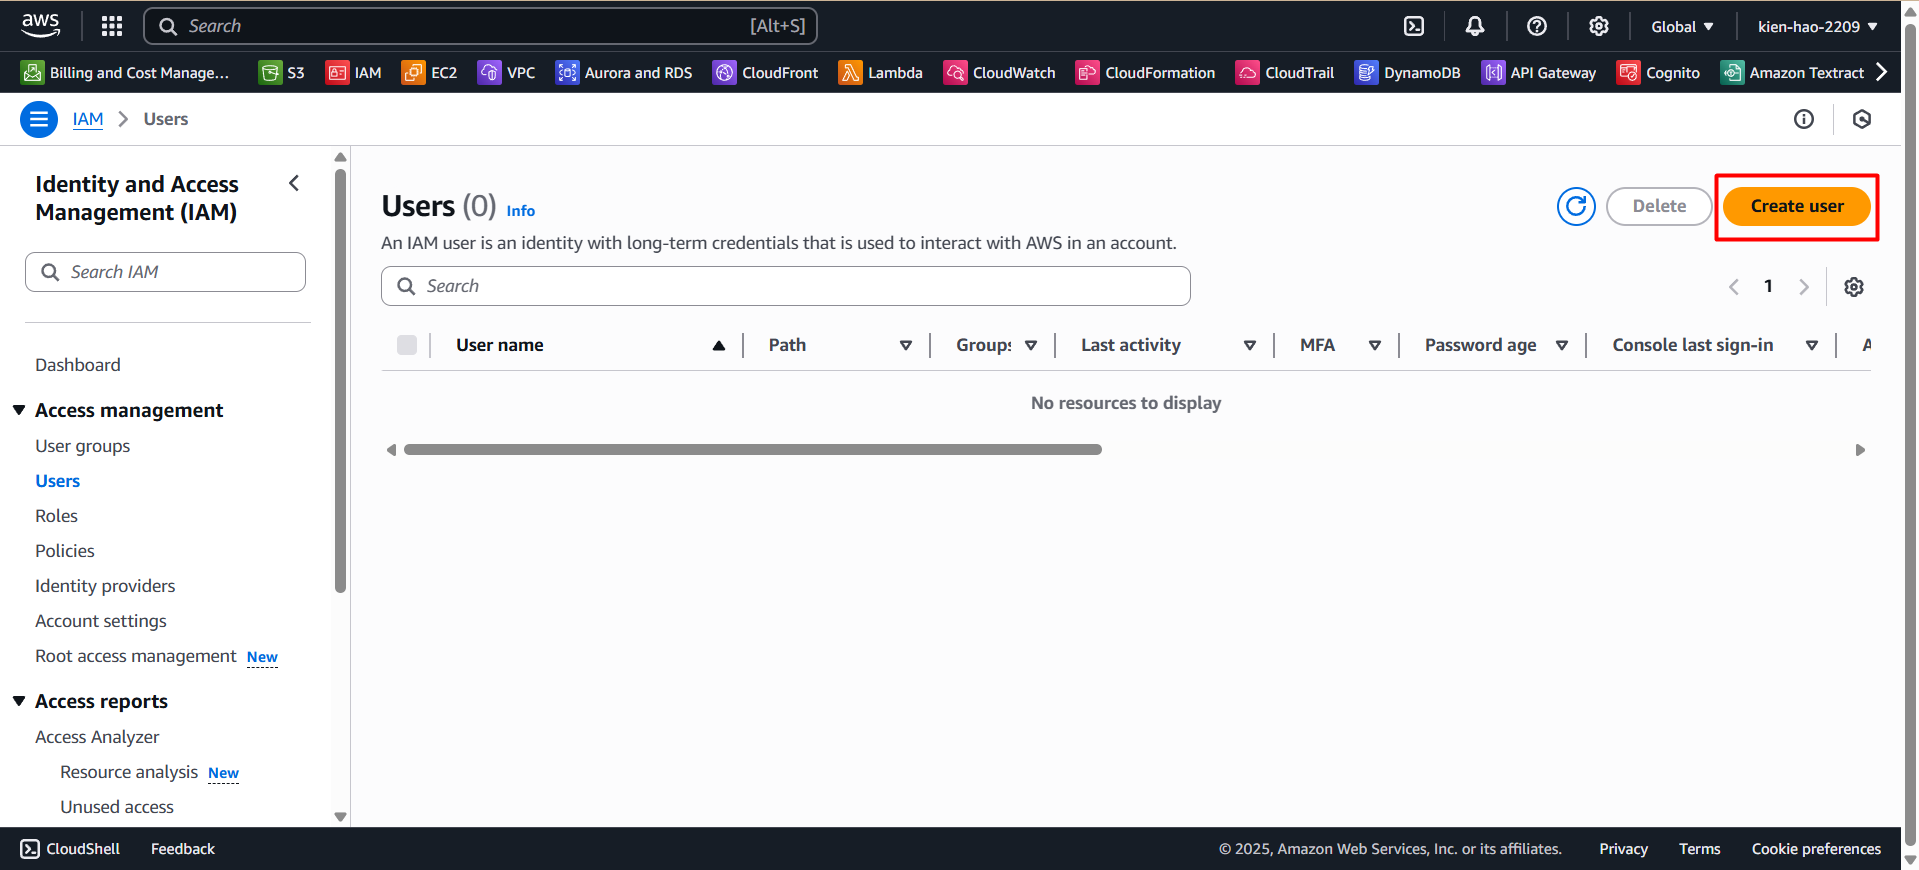
- Click the Create user button to start creating a new IAM User.
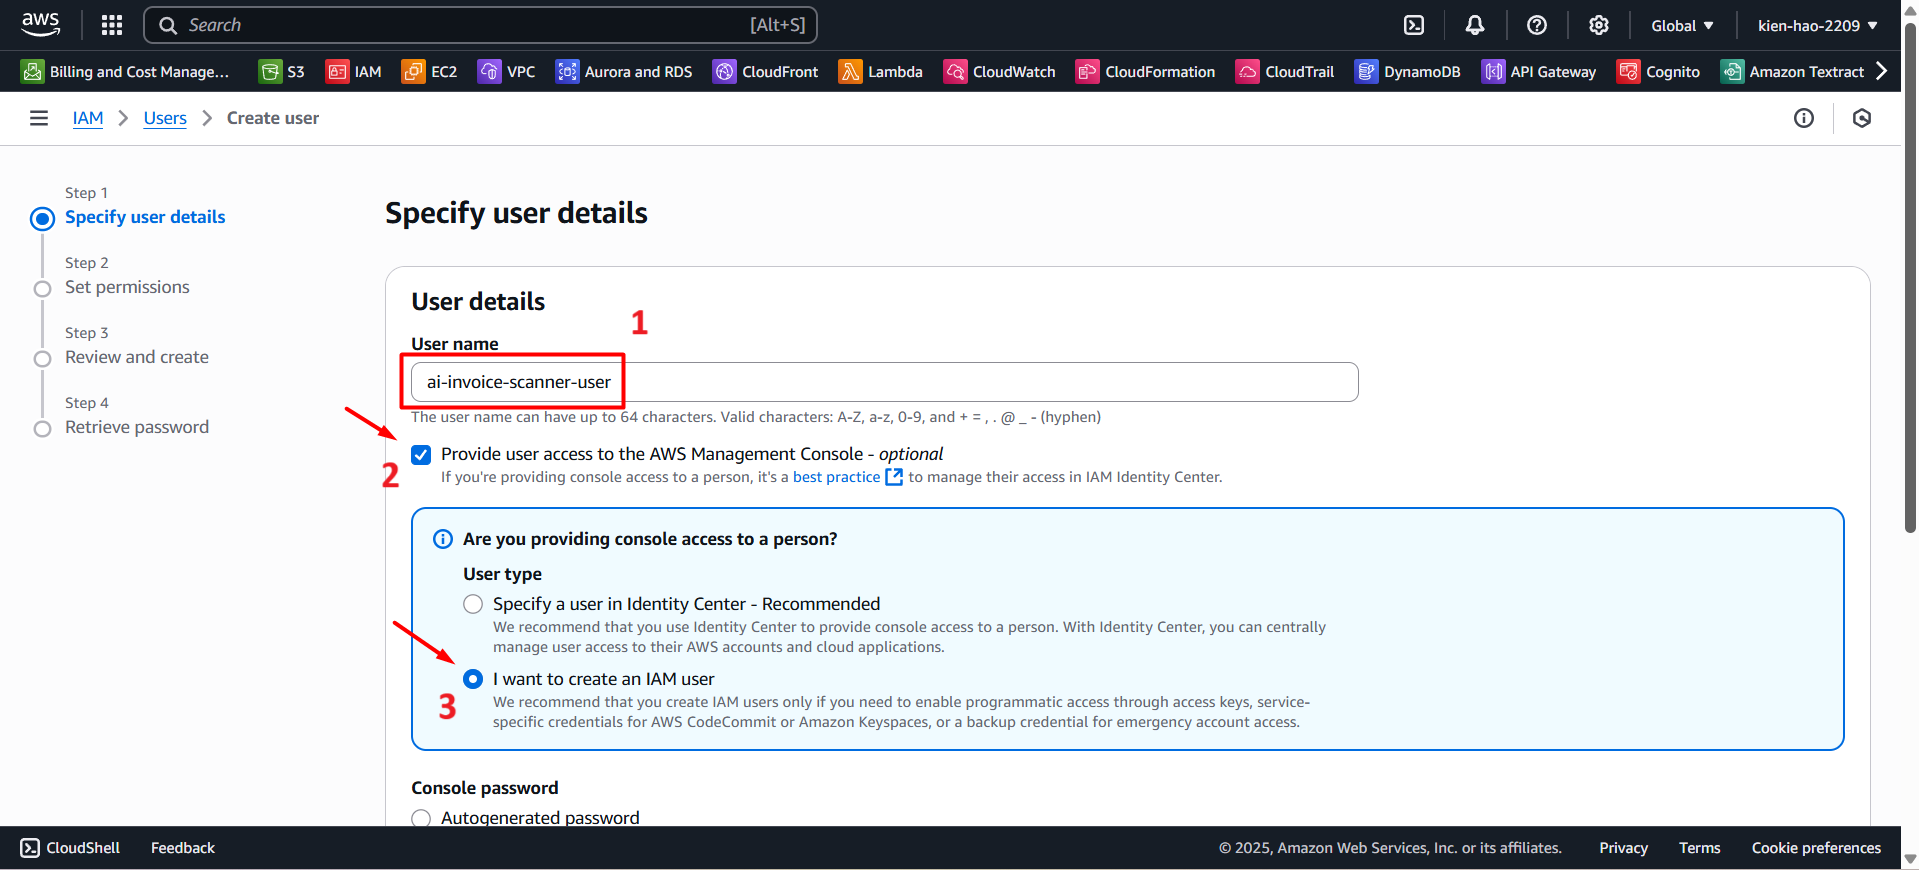
Step 2: Configure IAM User
- User name:
ai-invoice-scanner-user - Check the box: Provide user access to the AWS Management Console.
- Select: I want to create an IAM user.
Under Console password:
- Select: Custom password.
- Set password:
Admin@123 - Uncheck: Users must create a new password at next sign-in.
Unchecking this option allows the user to avoid being prompted to change the password on their first login.
- Click Next to proceed to the permissions step.
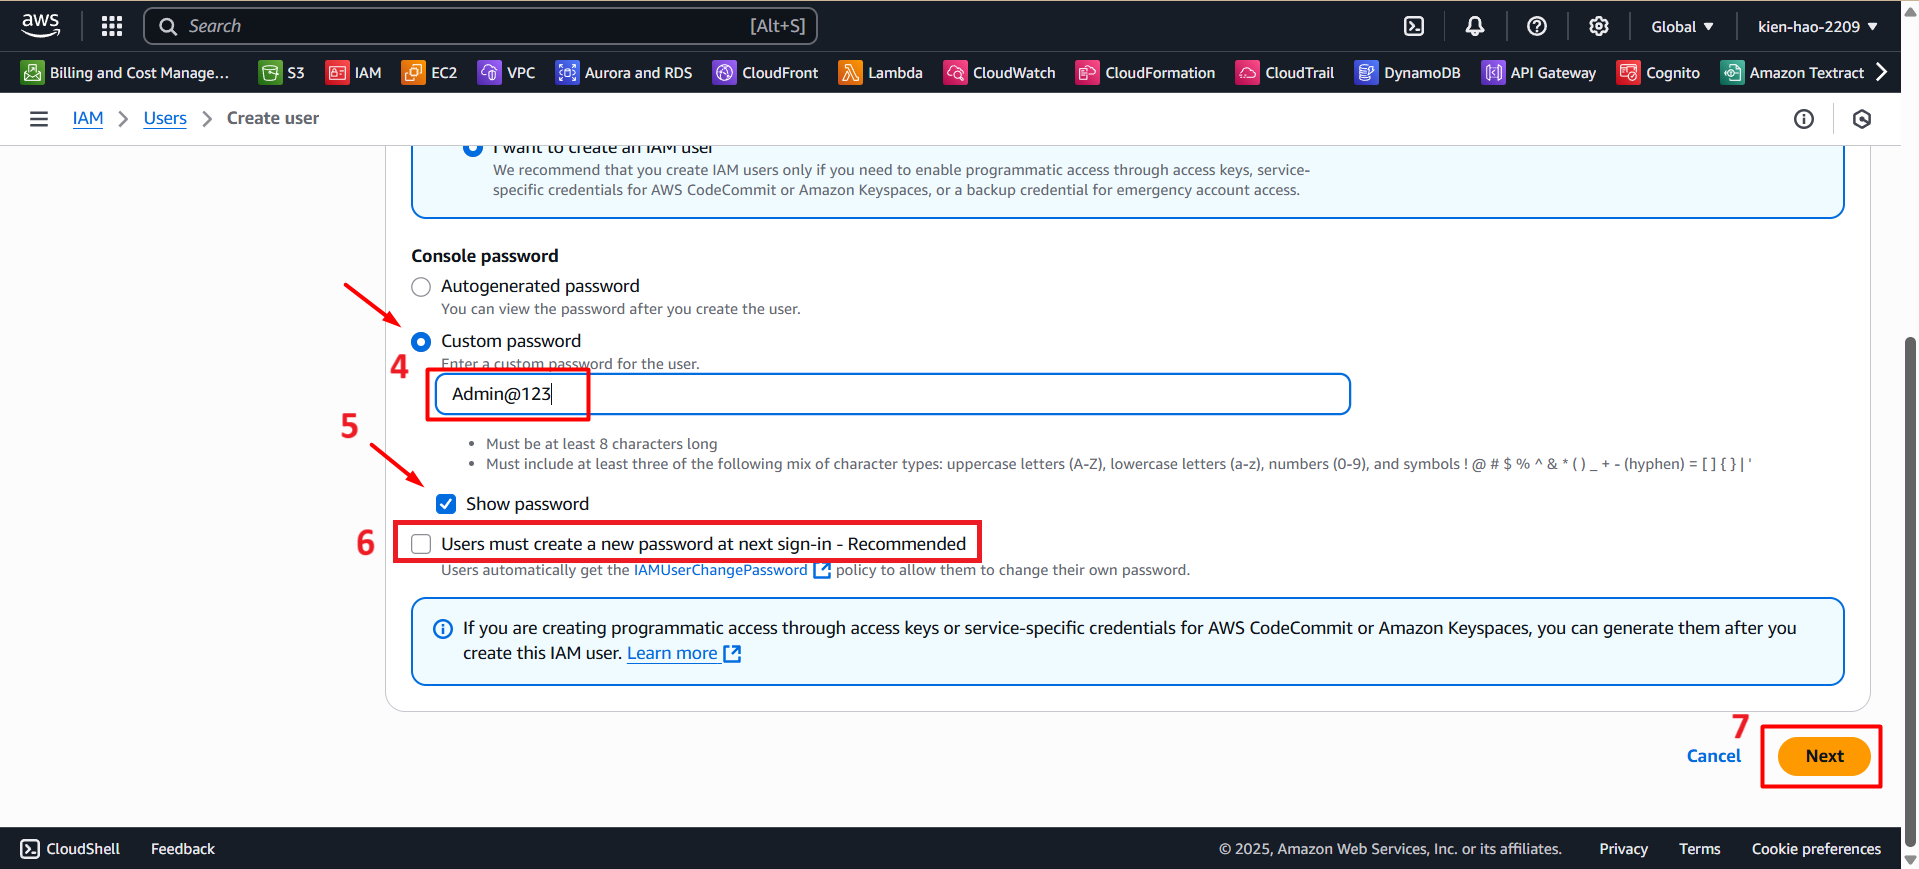
💡 You can choose a different password according to your internal security policy.
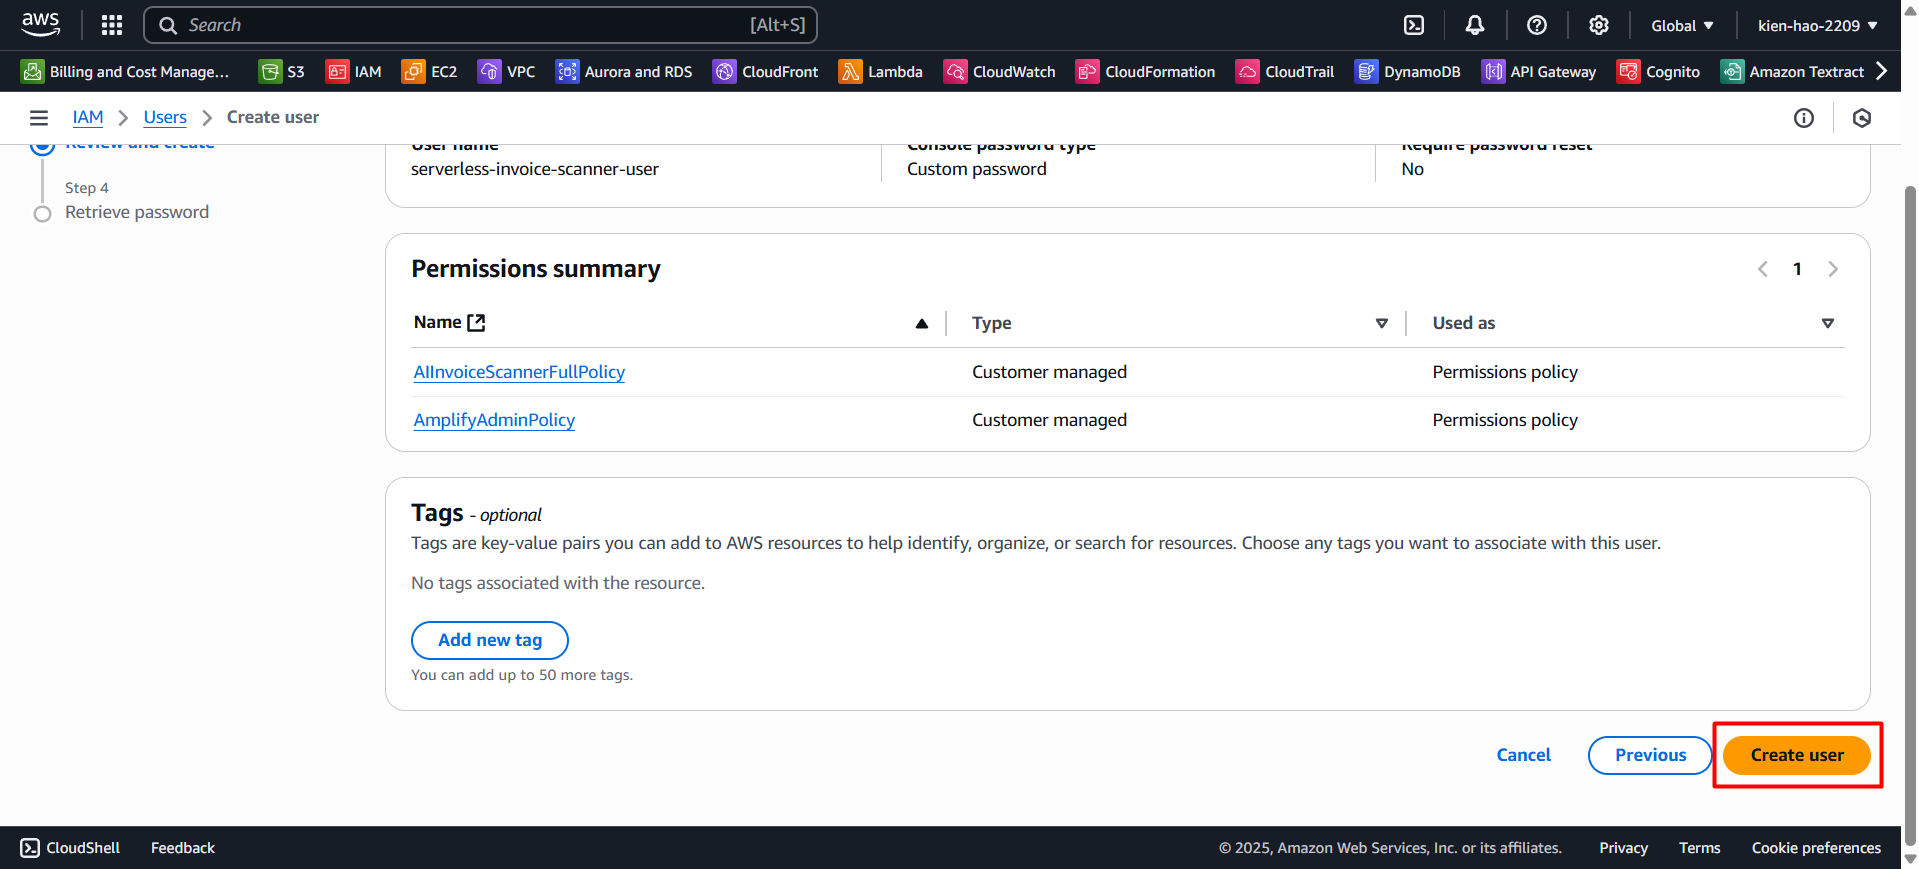
Step 3: Attach Policies to the IAM User
- In the Set permissions section, choose Attach policies directly.
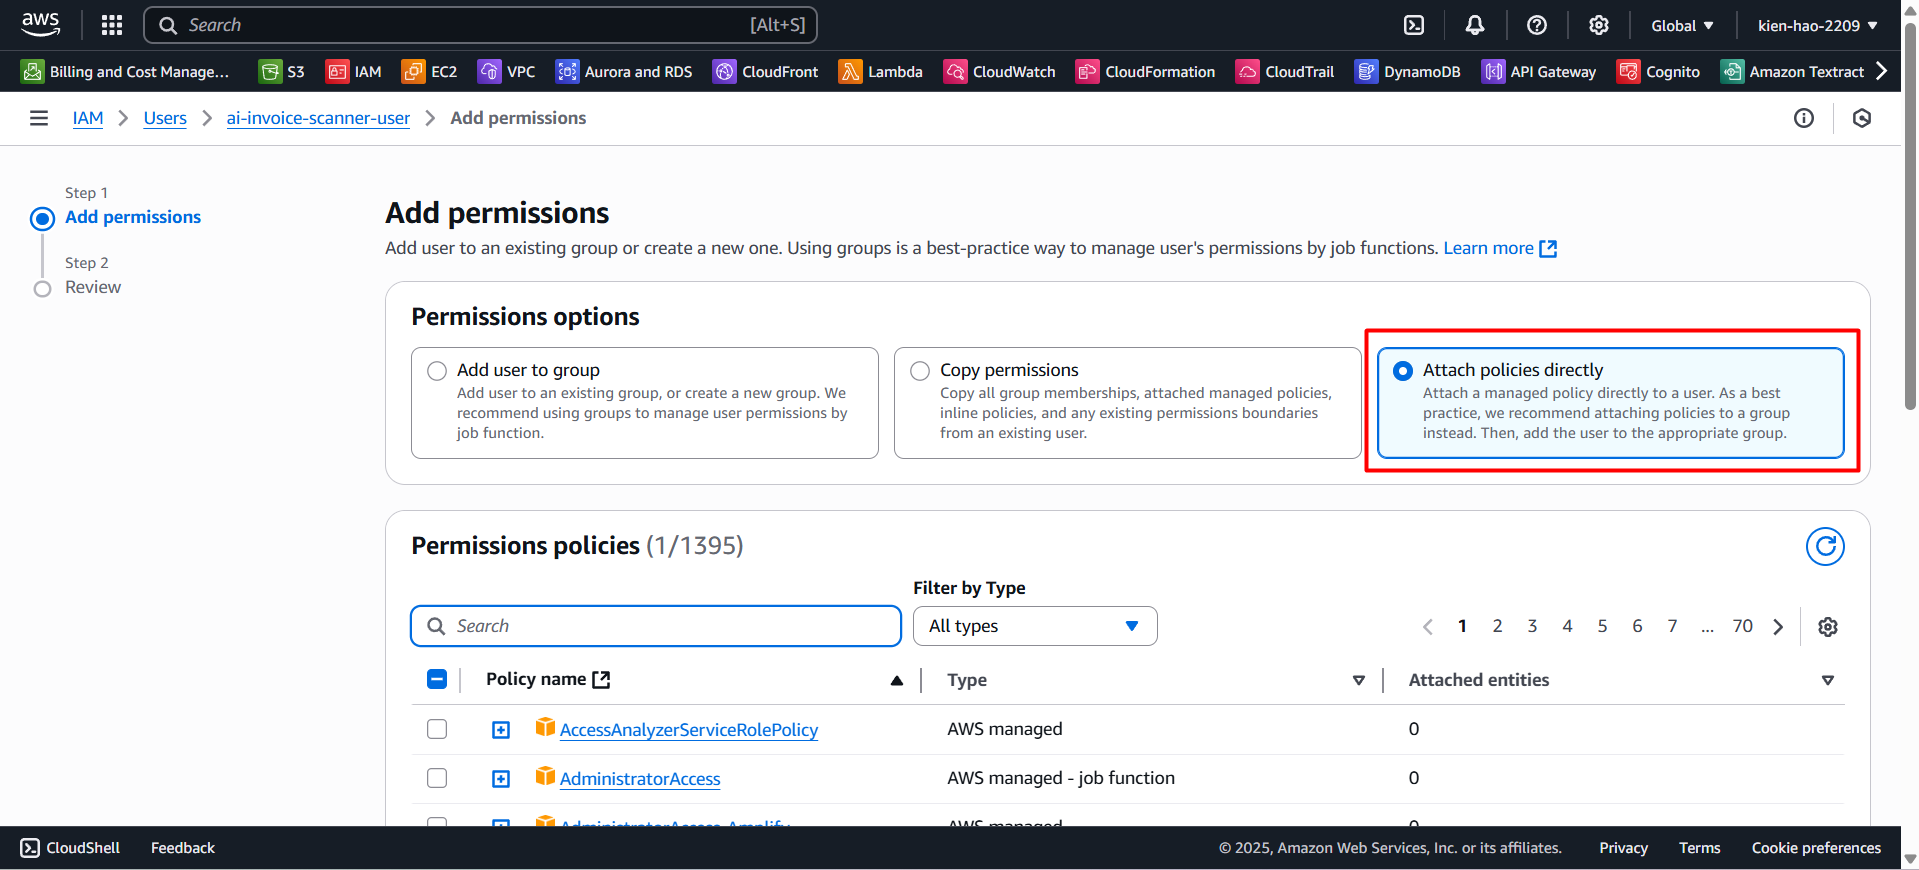
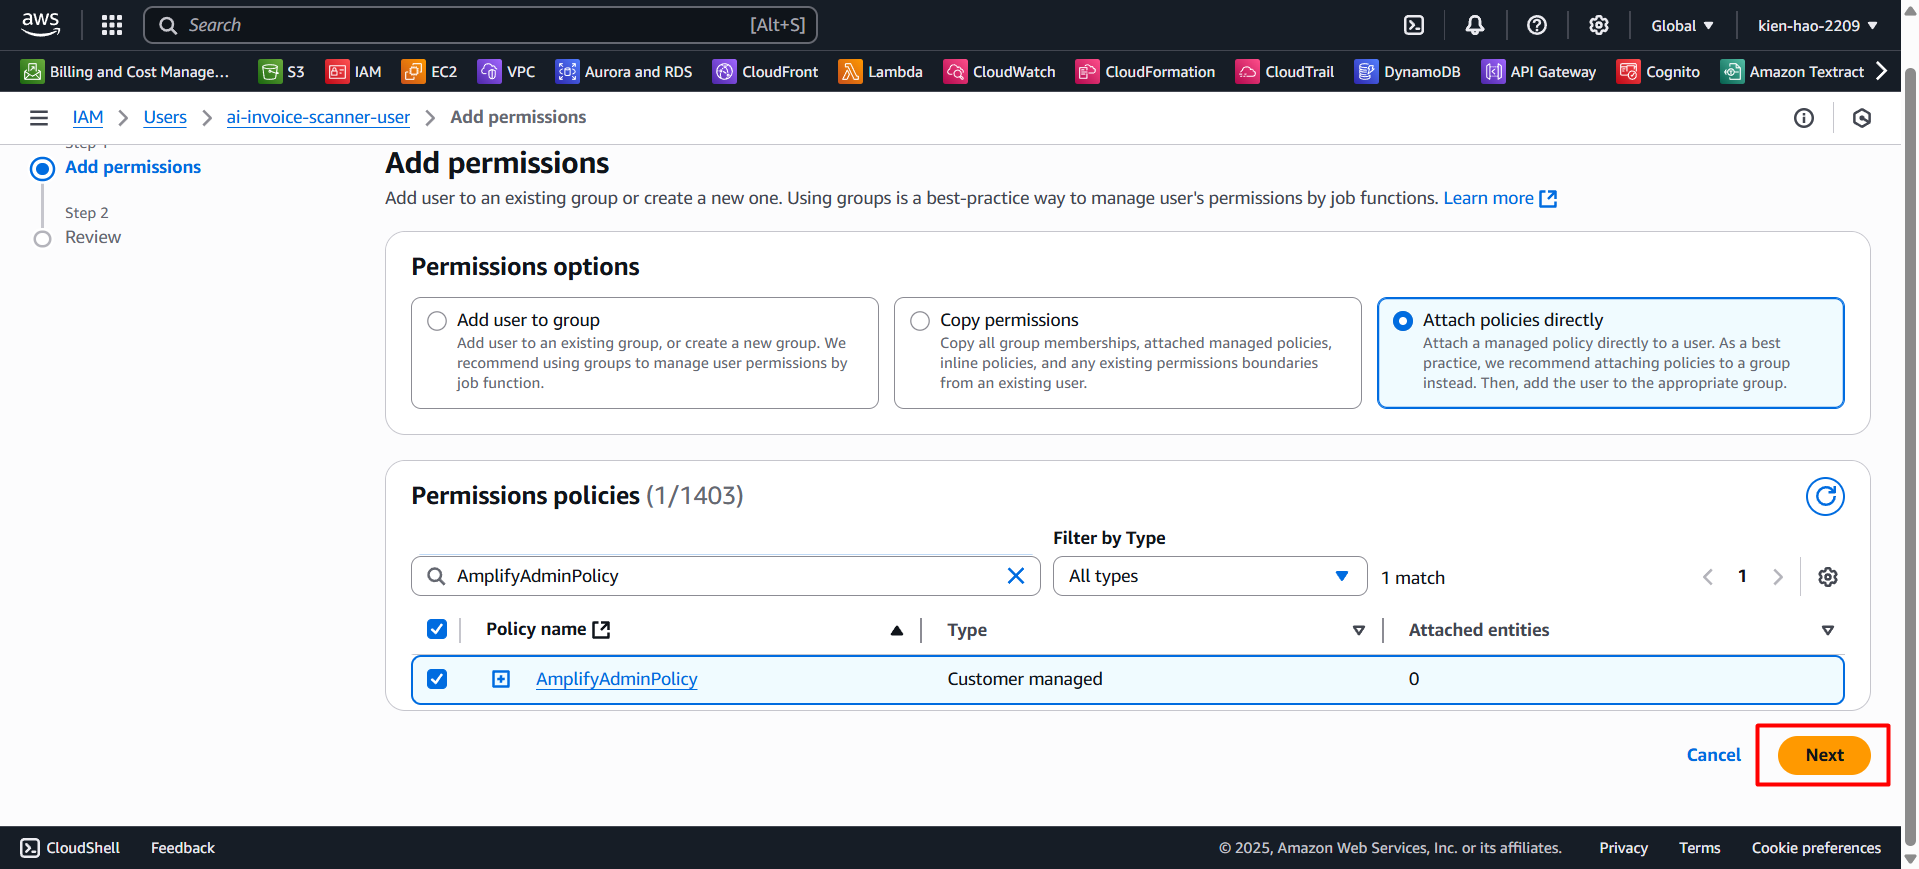
Search for and select the following policies:
AIInvoiceScannerFullPolicyAmplifyAdminPolicy

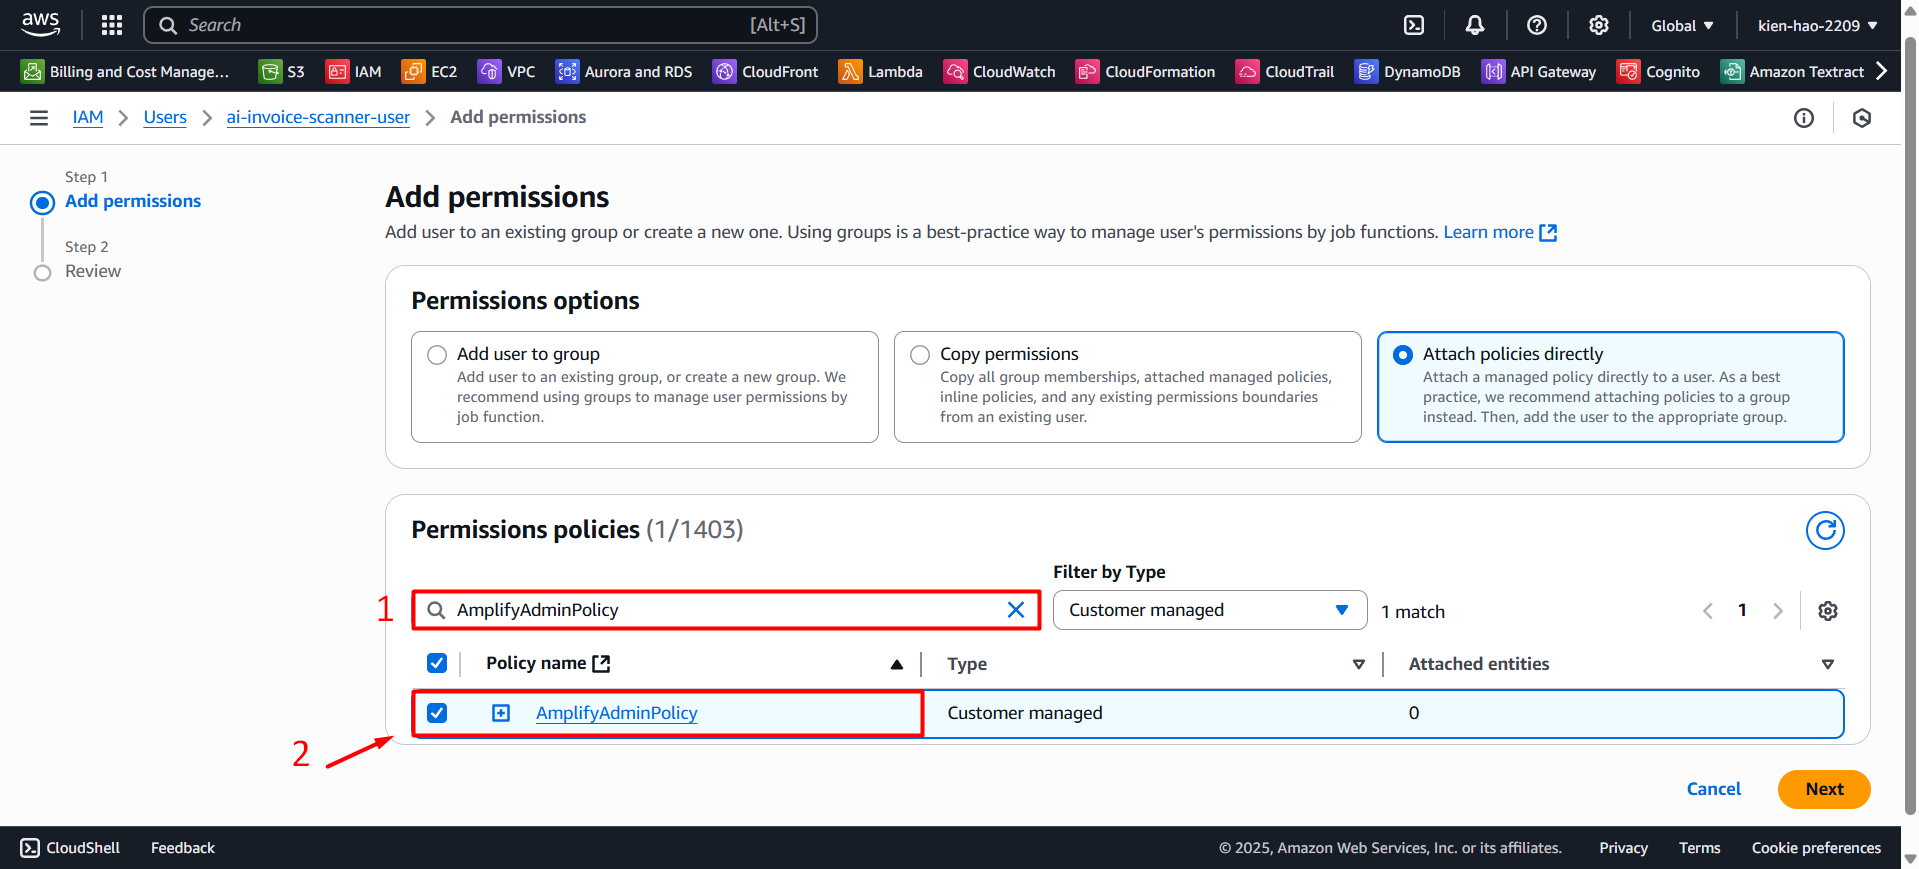
- Click Next to continue.
- Click Create user to finish creating the IAM User.
Step 4: Save Login Information
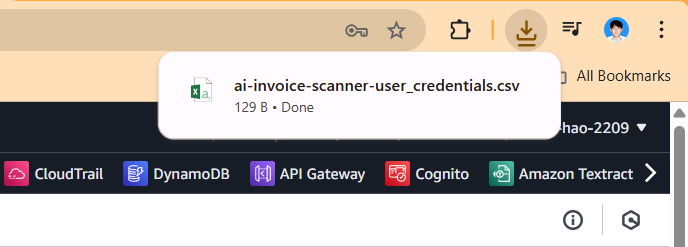
- Click Download .csv file to save the Access Key ID and console password.
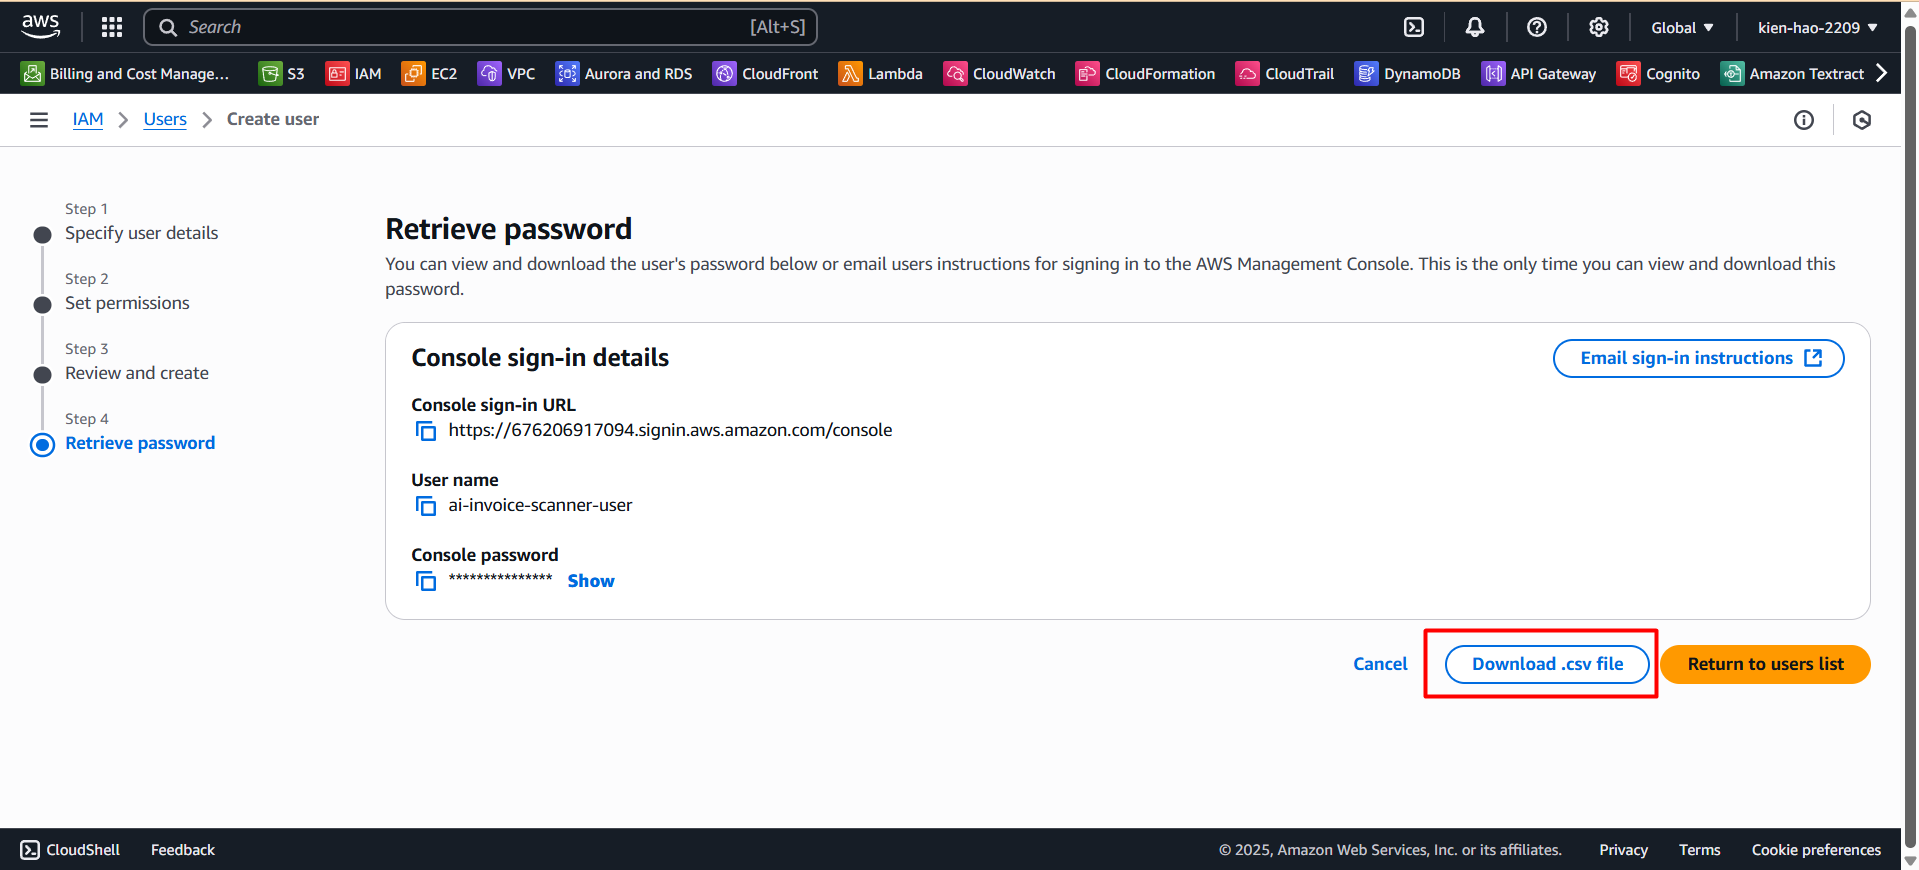
- The file will be downloaded as an Excel sheet — be sure to store this file securely for future use.
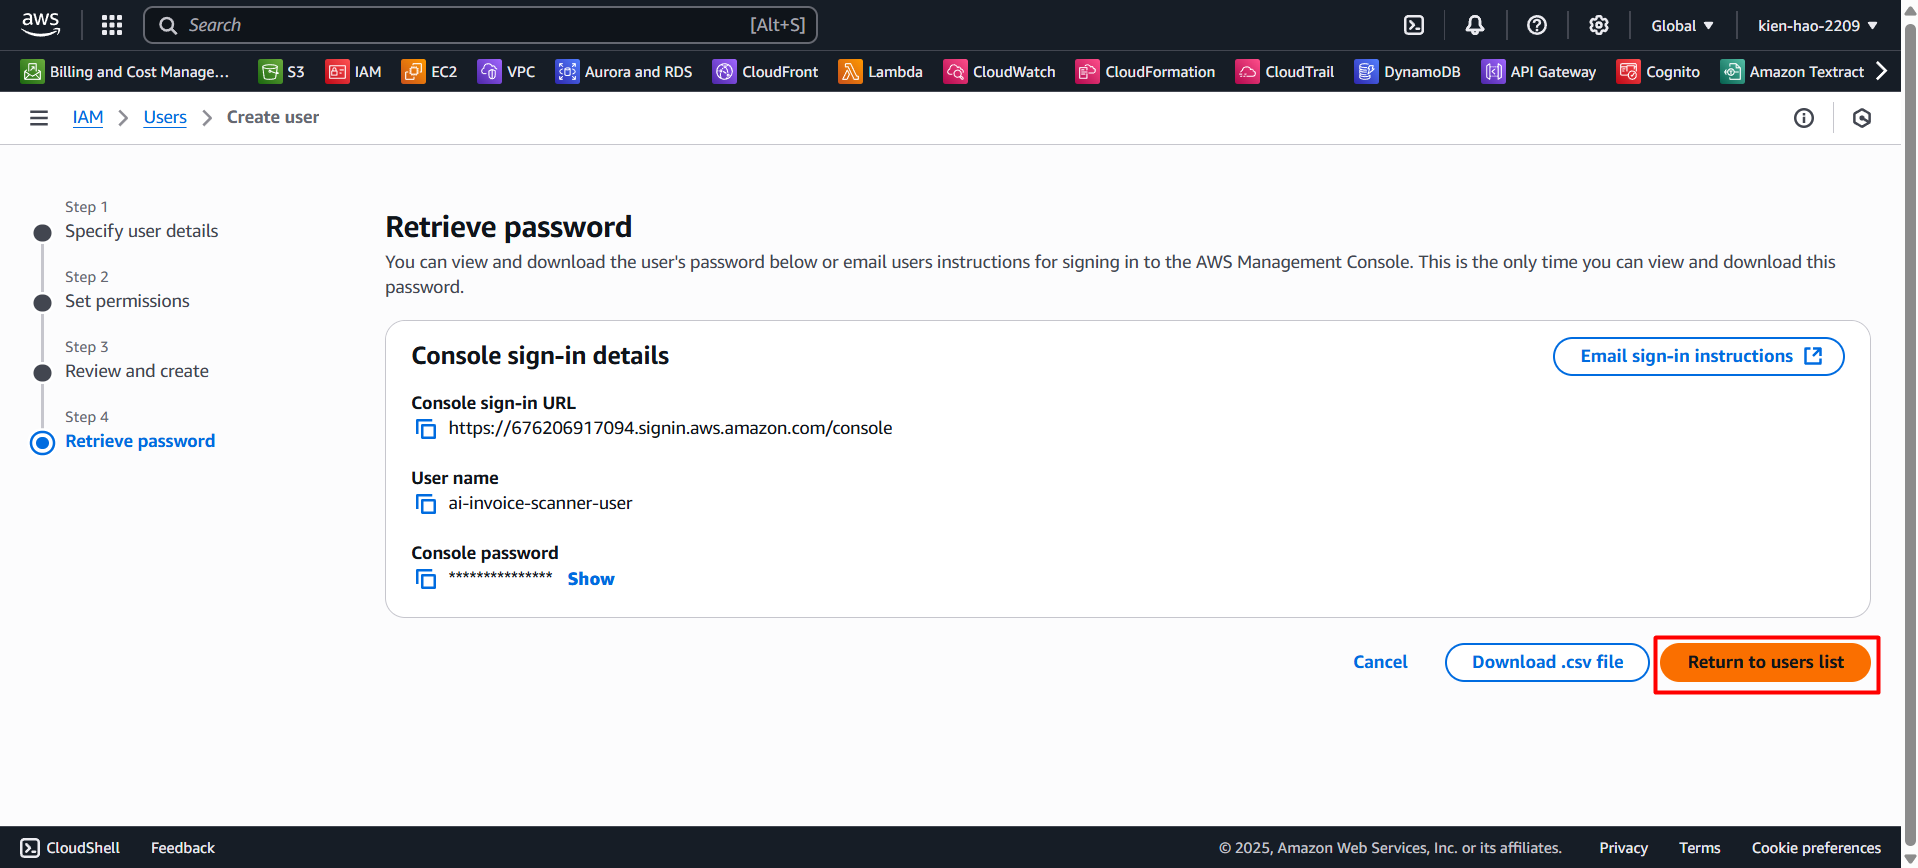
Step 5: Verify IAM User Information
- Click Return to users list to go back to the Users list.
- The newly created IAM User will be listed as shown:
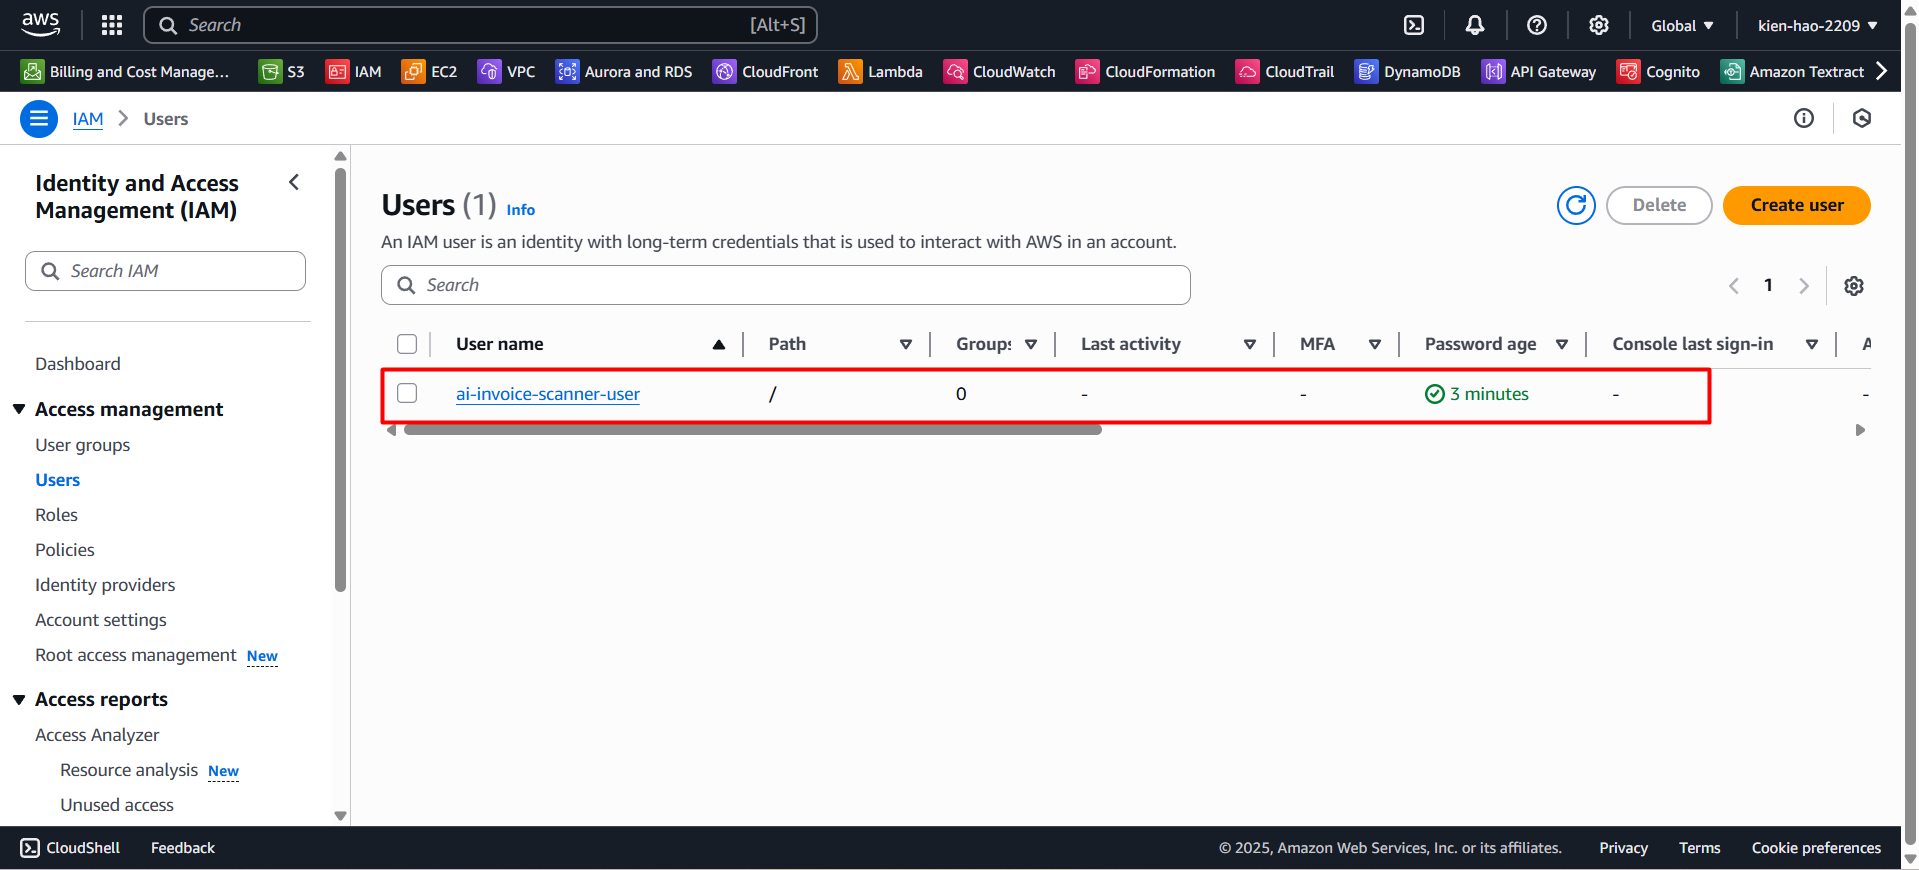
- Click the user to view its detailed information.
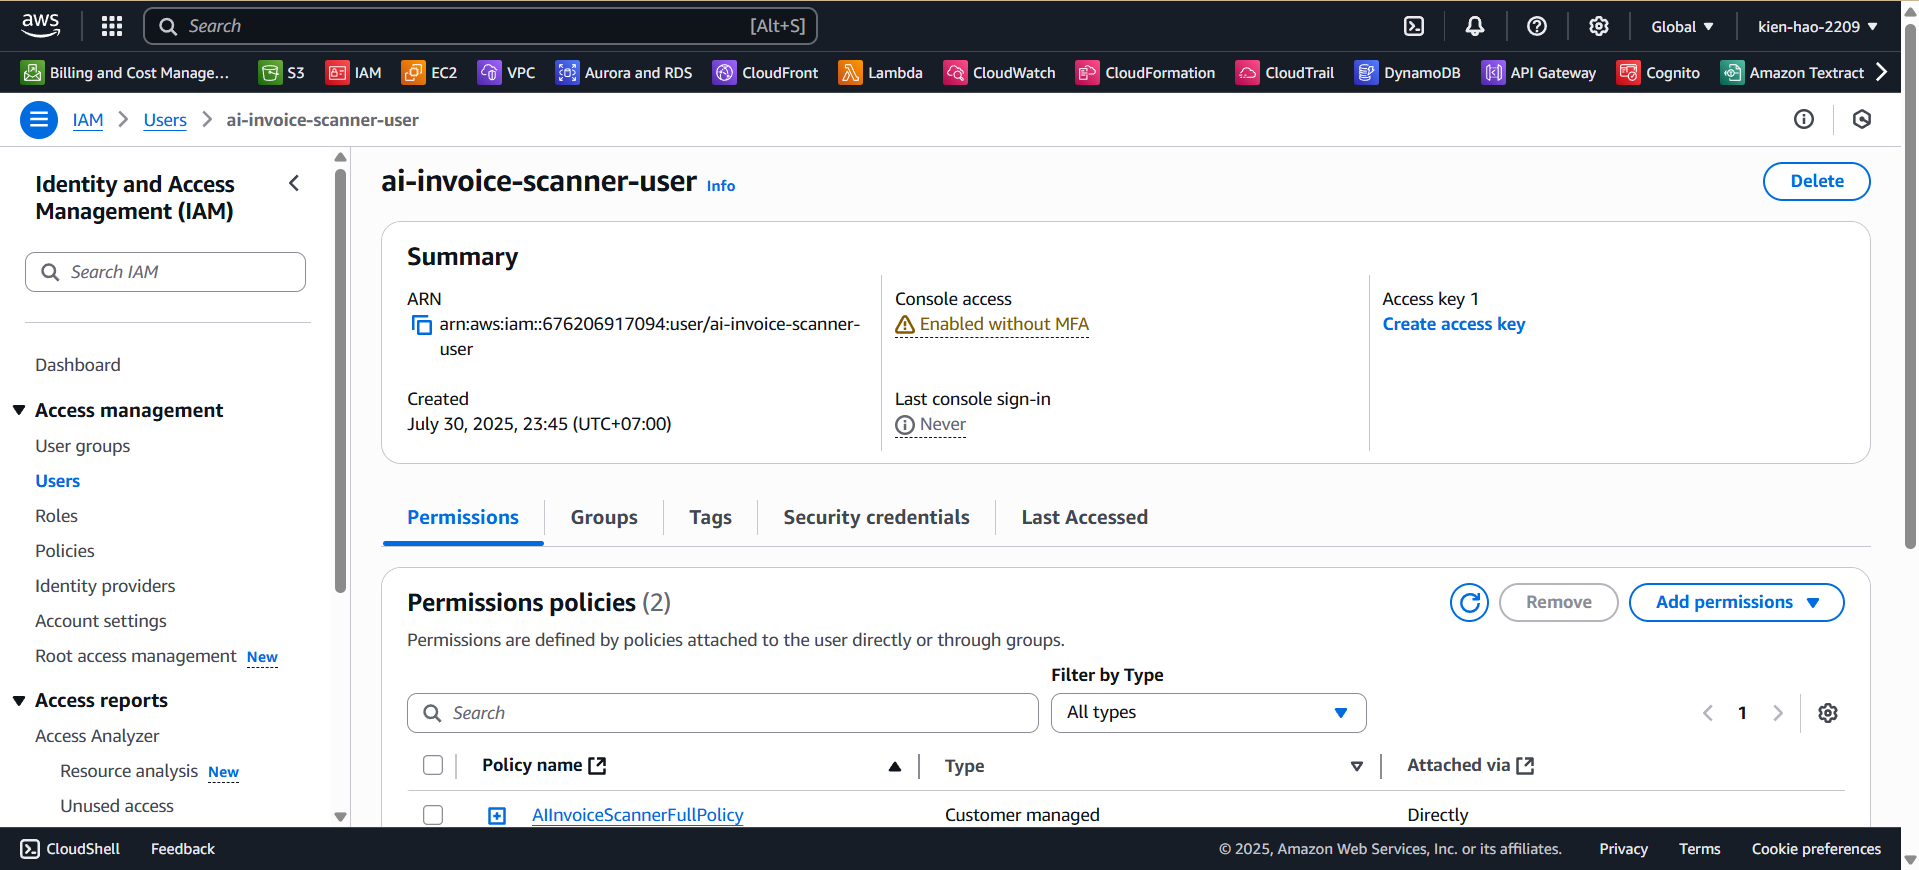
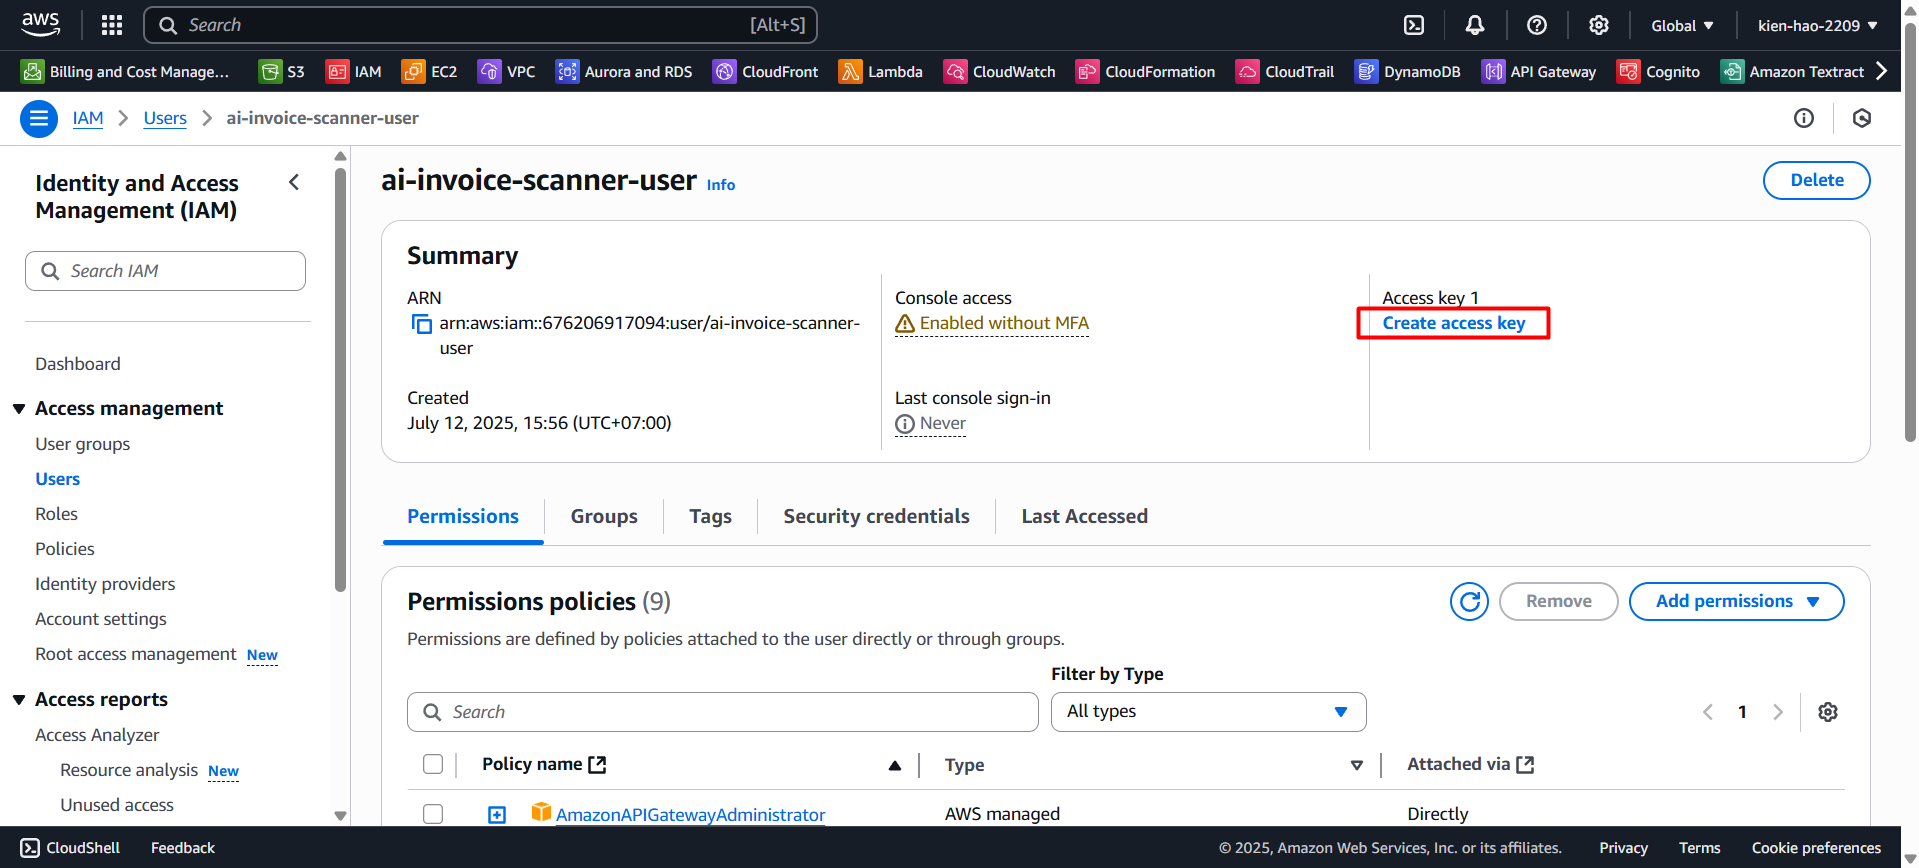
Step 6: Create Access Key
- On the user detail page, click Create access key.
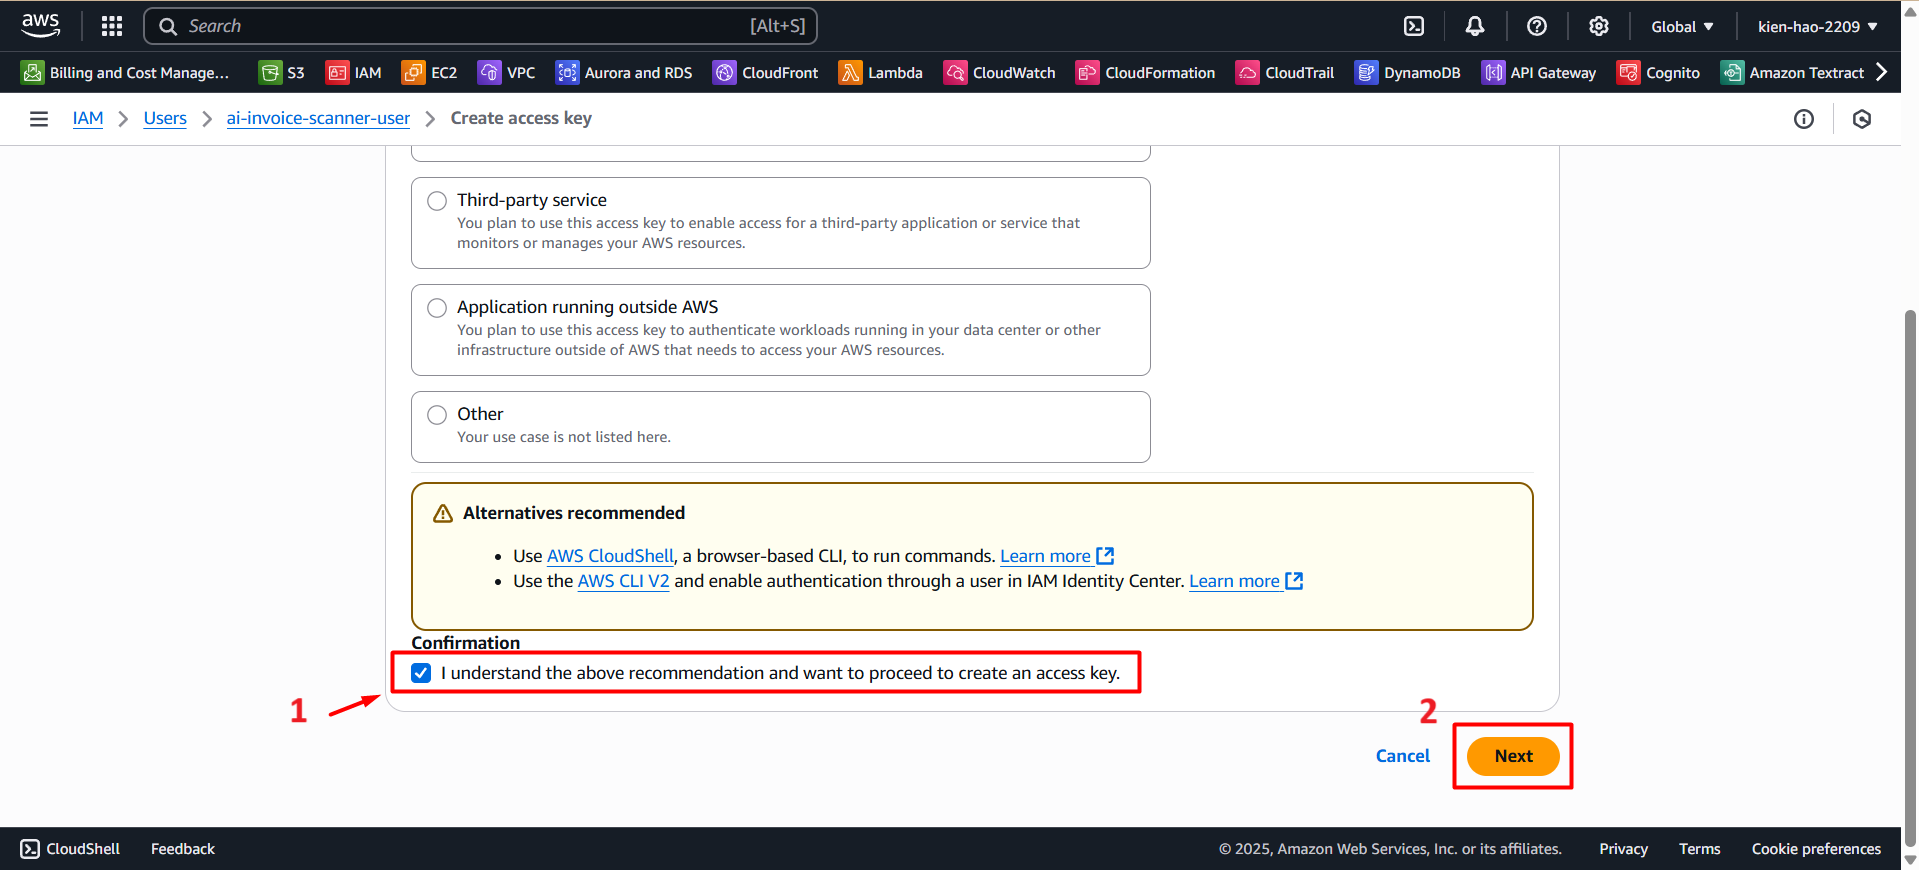
- Select Command Line Interface (CLI).
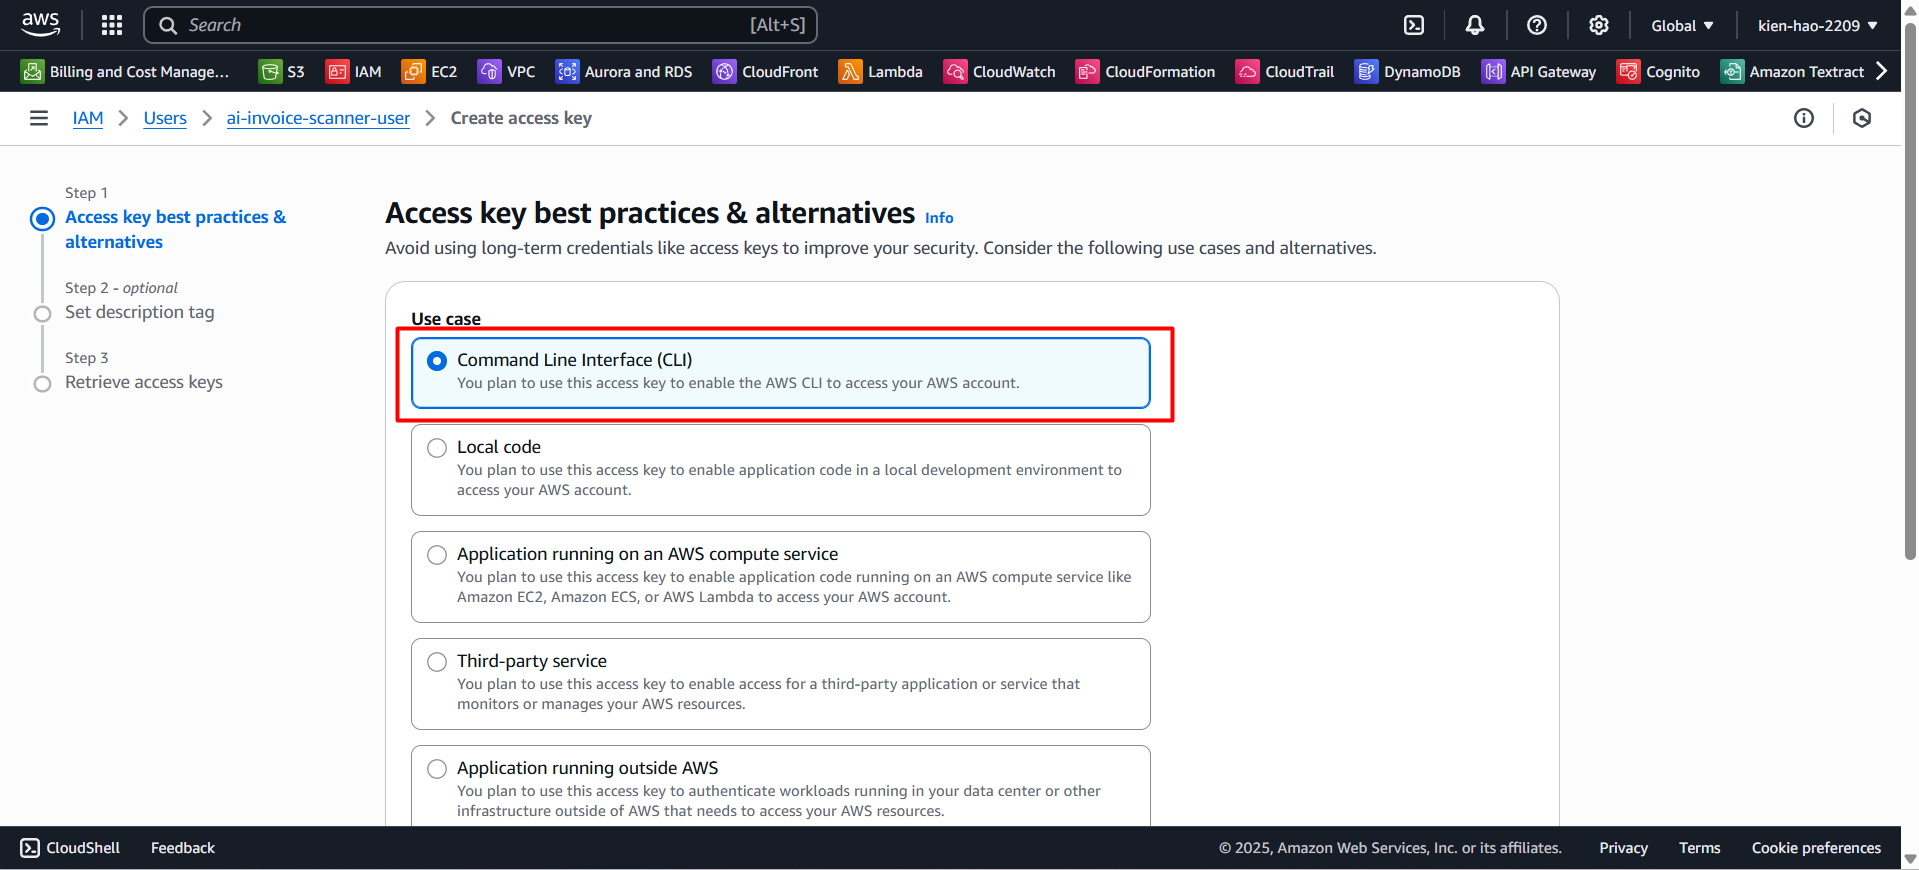
- Check the box: I understand the above recommendation and want to proceed to create an access key.
- Click Next to proceed.
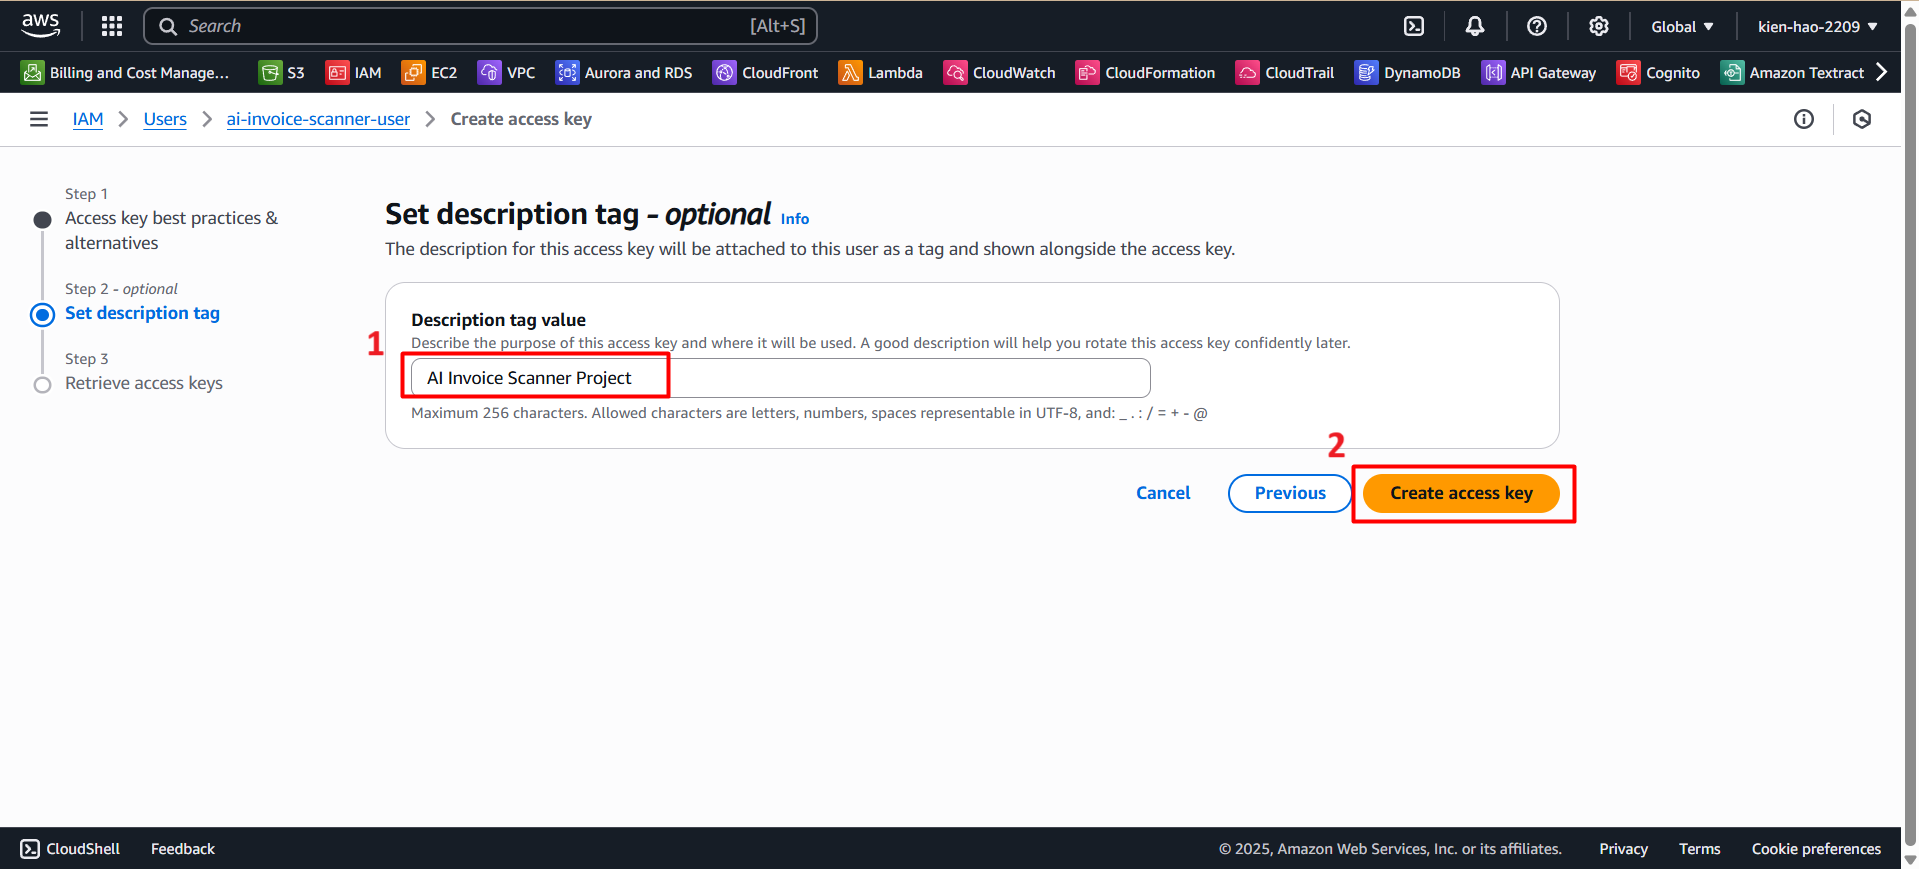
Step 7: Add a Description for the Access Key
- Description tag value:
AI Invoice Scanner Project - Click Create access key.
Step 8: Backup Access Key
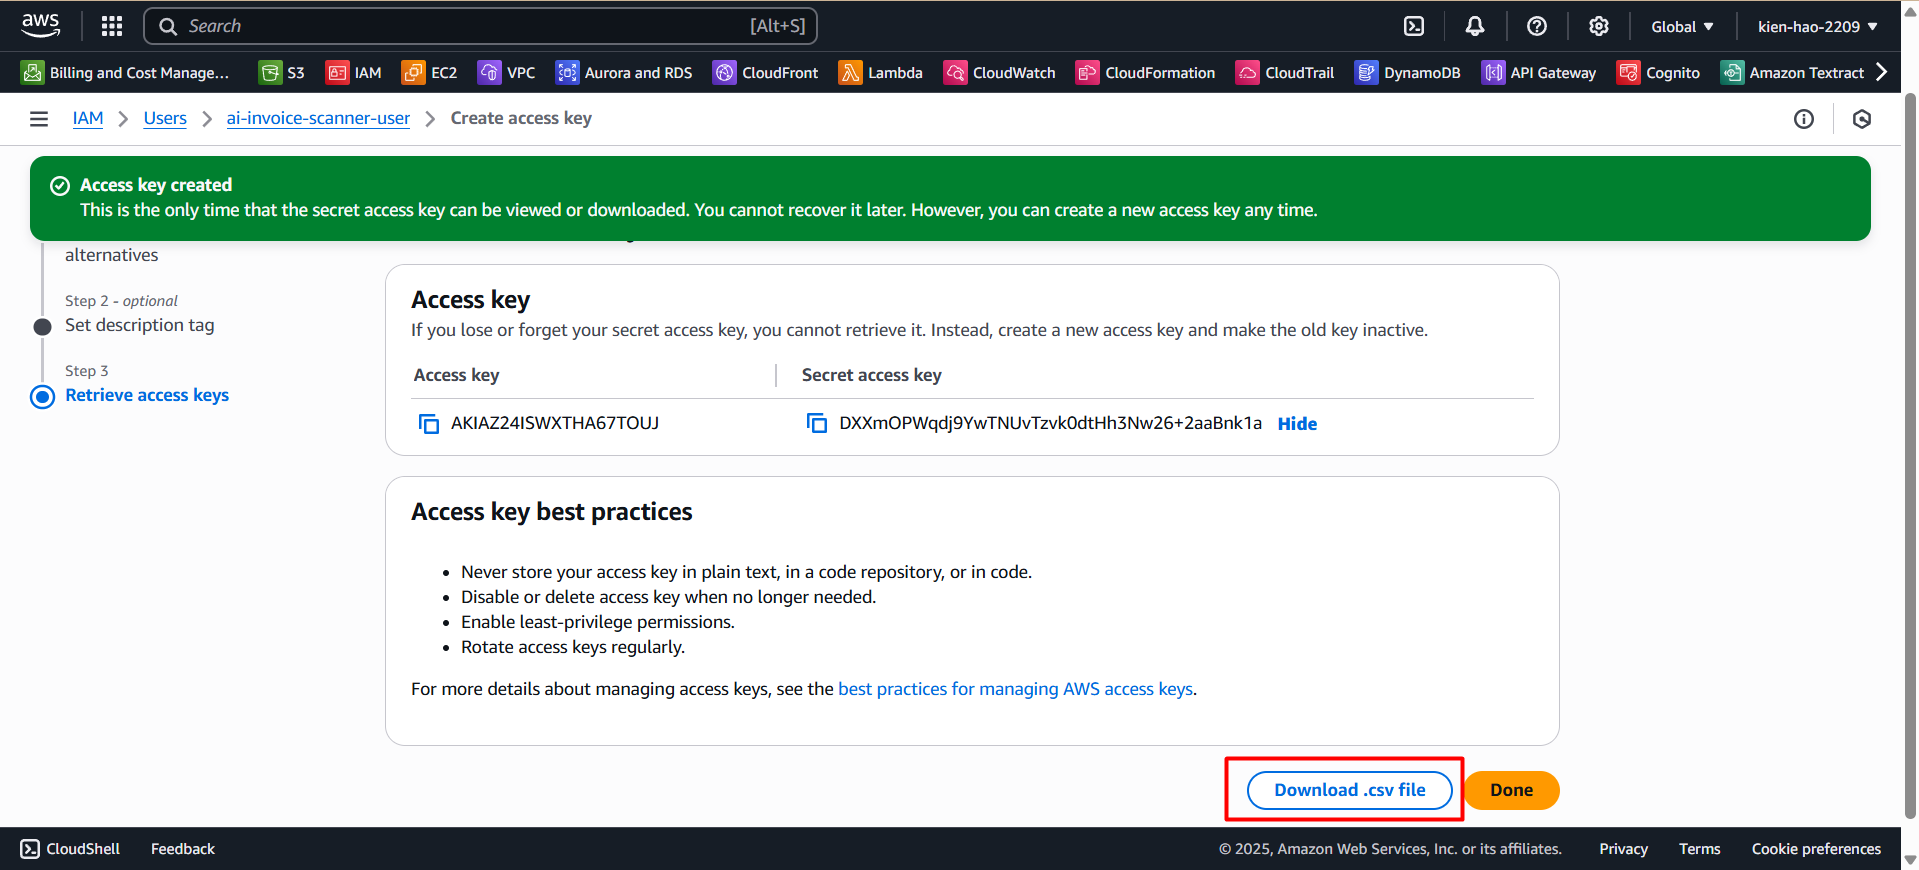
Once the access key is successfully created, AWS will display:
- Access Key ID ✅
- Secret Access Key 🔐
⚠️ Note: This is the only time you will see the Secret Access Key. Store it securely and never share it on GitHub or any public platform.
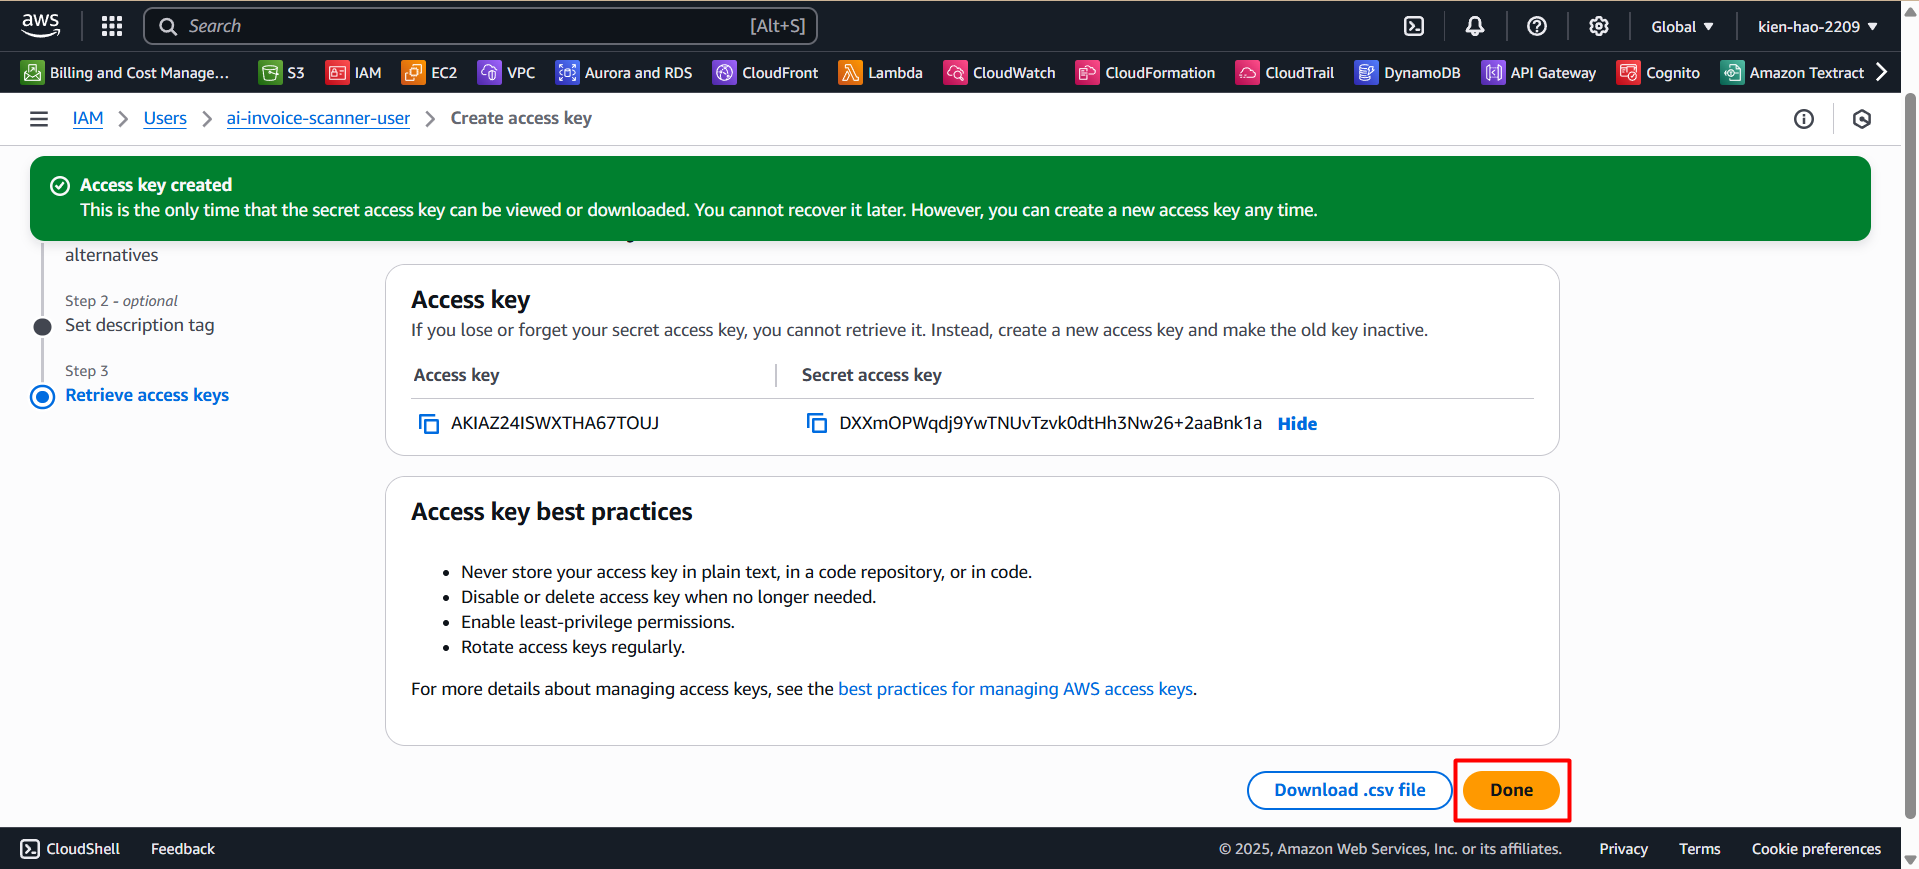
- Click Download .csv file and save the file on your computer for future use.
- Click Done to finish.
Step 9: Verify the Access Key
- Return to the Security credentials tab, and you will see the Access Key ID listed.
- Check that the Access Key is in Active status.
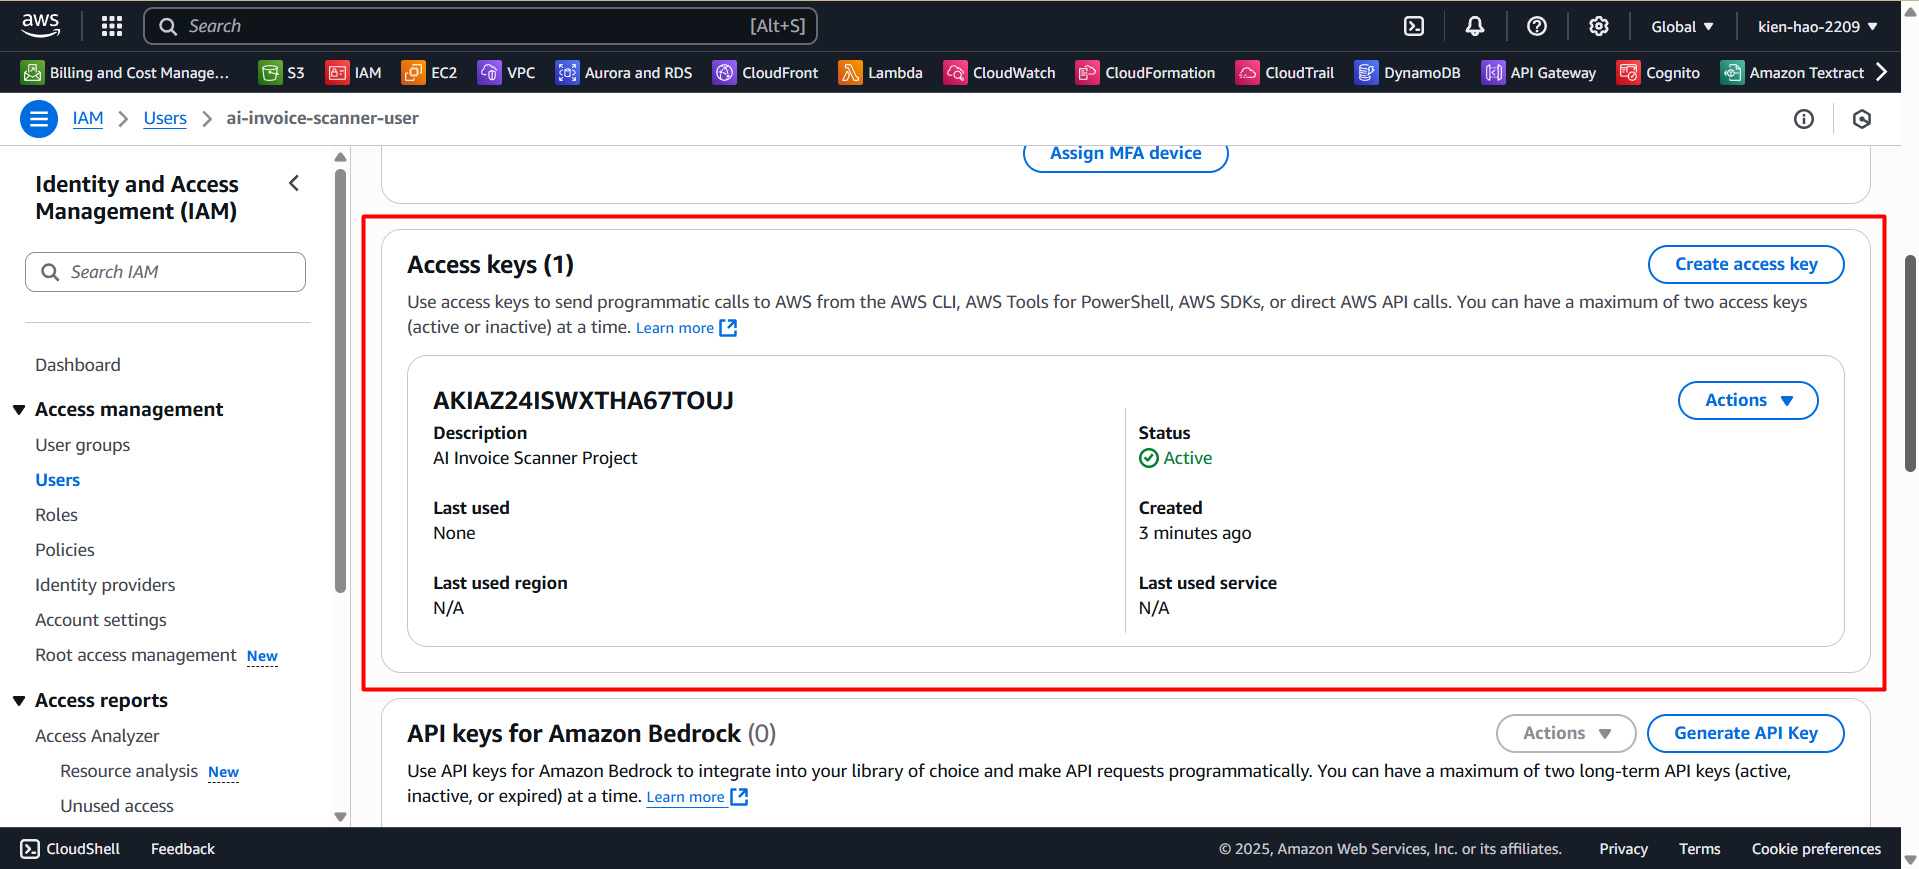
💡 Note: Make sure you saved the Secret Access Key from the previous step. If not, you’ll need to delete and recreate a new access key.
- You may deactivate or delete this key when no longer needed.
- Never commit Access Keys to GitHub or share them publicly.
- If your key is exposed, go to IAM > User > Access Keys > Deactivate then Delete.